How to Clean Your Oven (The Right Way, Without Wrecking It)
Most cleaning guides skip the core issues. They never explain why grease returns within weeks or why the self-clean cycle often damages seals and electronics. After working on dozens of ovens ranging from brand-new gas models to neglected electric units over 15 years old, I have found that the following approach removes buildup without the typical follow-up problems.
Before You Start: Fix These Two Mistakes First
- Never apply any cleaner to a warm oven. Heat accelerates fume release and cuts ventilation effectiveness in half.
- Split the job by zone. The interior, racks, burner ports, control panel, and exterior each demand different tools and contact times. Treating everything the same produces streaks and hidden residue.
Tools Required
- Baking soda
- White vinegar in a spray bottle
- Dish soap
- Non-scratch scrubbing pad
- Three microfiber cloths
- Plastic scraper
- Commercial degreaser for heavy grease (optional)
- Rubber gloves
Skip steel wool entirely. It leaves permanent scratches on enamel and glass that cannot be buffed out.
Step 1: Clean the Oven Interior
Remove the racks first. Cleaning around them traps grease in the corners and under the rails.
- Mix ½ cup baking soda with enough water to form a thick paste.
- Spread the paste across the bottom, sides, back wall, and inner door surface. Avoid heating elements.
- Leave the paste in place for at least 12 hours. Overnight contact gives the alkaline reaction time to break down carbonized grease.
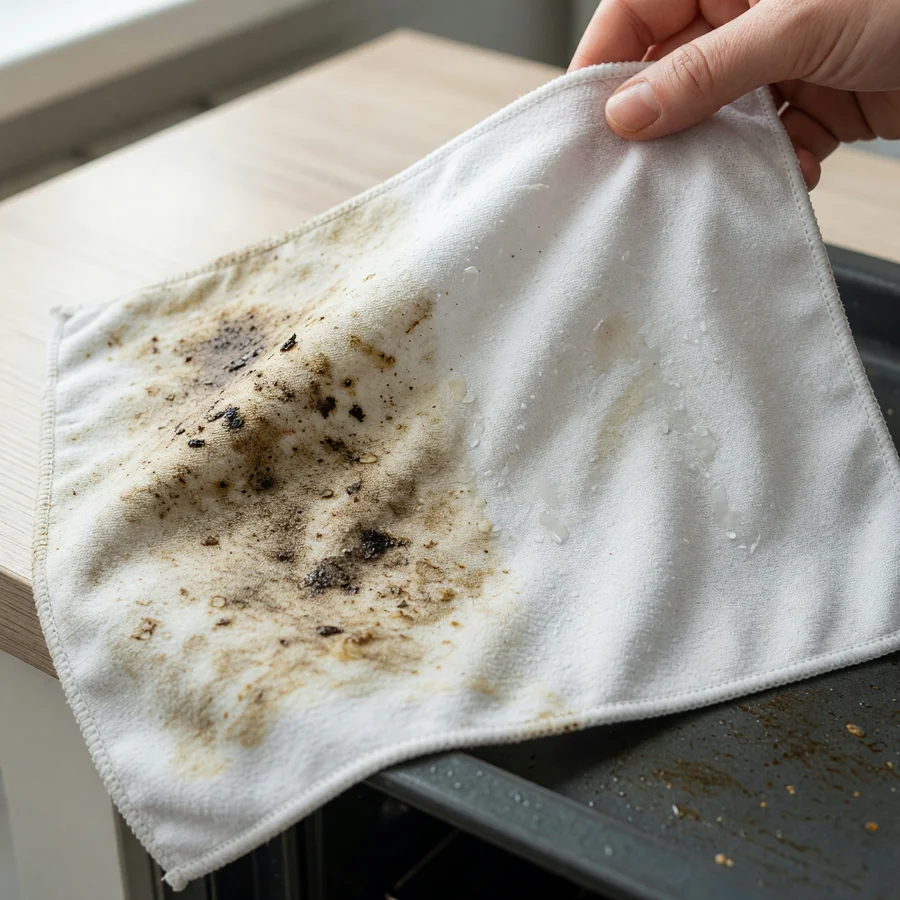
Wipe away the softened residue with a damp microfiber cloth. Spray vinegar on any remaining spots to trigger the fizzing lift. Use the plastic scraper only at a low angle. Pay special attention to the door hinges and lower corners where drips collect.
Self-Clean Cycle Limits
Run the self-clean function no more than two or three times per year. The cycle reaches roughly 900 °F and converts grease to ash, yet it also stresses door gaskets, hinges, and control boards. Always remove racks beforehand because they warp and discolor. Open windows for ventilation. Once the oven is completely cool, the white ash wipes away with a damp cloth.
Step 2: Clean the Racks
Dirty racks drip grease that burns onto the oven floor on every use. Soak them in the bathtub with hot water and a few squirts of dish soap for two to four hours. Scrub with a non-scratch pad. For stubborn spots, sprinkle baking soda directly on the surface. Rinse thoroughly and dry the racks completely before reinstalling to prevent steam marks.
Step 3: Clear Gas Burner Ports
Clogged ports produce uneven flames and failed ignitions. Remove the caps and burner heads. Soak them in soapy water for 20 minutes. Clear each port with a toothpick or paper clip. A toothbrush alone leaves debris behind. Rinse, dry fully, and reassemble. Keep moisture away from the igniter.
Step 4: Degrease the Cooktop
- Gas grates: Soak in hot soapy water. For heavy buildup, place them in a sealed bag with ammonia overnight (outside). The next day the grease wipes off with minimal effort.
- Glass or ceramic surfaces: Apply cooktop cleaner or baking soda paste with a soft cloth. Scrape burnt sugar at a 30-degree angle using a razor blade in one consistent direction. Abrasive pads create micro-scratches that dull the finish over time.
Step 5: Clean the Controls
Grease mist settles on knobs and panels and turns them sticky. Spray degreaser onto a cloth first, never directly onto the panel. Wipe each knob individually and clean behind them. Direct sprays lead to corrosion and eventual panel failure.
Step 6: Finish the Exterior
Wipe stainless steel with the grain using a light coat of mineral oil on a microfiber cloth. Painted surfaces need only warm soapy water. Avoid vinegar on enamel finishes. Clean the side panels and storage drawer fronts as well.
Realistic Cleaning Schedule
- After every use: Wipe cooktop spills immediately.
- Monthly: Quick interior wipe-down.
- Every 3–6 months: Full deep clean.
- Self-clean: Maximum two or three times per year.
Frequently Asked Questions
Can I use commercial oven cleaner on a self-cleaning oven?
No. The special enamel coating will be damaged. Check the manual and stick to baking soda and vinegar.
Why does the oven still smell after cleaning?
Residue often remains in corners or on the elements. Run the oven empty at 400 °F for 20 minutes with good ventilation.
Can the racks go in the dishwasher?
Yes, but repeated cycles strip the chrome plating and cause rust. Tub soaking is gentler and more effective.
How do I clean between the layers of oven door glass?
Disassemble only according to the manual if haze persists after interior cleaning. Grease enters through the top vents.
What is the fastest method for heavy buildup?
Apply baking soda paste overnight, then treat remaining spots with degreaser in a well-ventilated area.
Should I line the oven bottom with foil?
Never. Foil blocks airflow, can melt, and creates carbon monoxide risks in gas ovens. Use a proper liner mat or clean spills promptly.
How do I remove white residue after the self-clean cycle?
Wipe with a damp cloth once the oven is fully cool. Add a small amount of baking soda if needed. Never use wet cloths on a warm surface.
How do I remove brown haze on the door glass?
Make a thick baking soda paste, cover it with plastic wrap, and leave it for several hours. Scrape gently or use a razor blade on the glass only.